Warehouse 3D Render PSD Design: Creative Blueprint
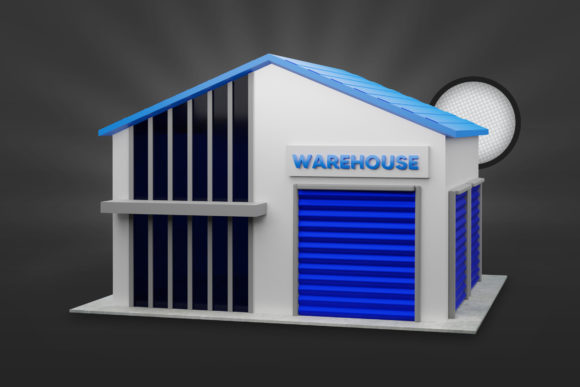
Imagine having a fully lit, three-dimensional warehouse scene you can tweak in minutes. That’s the promise of the Warehouse 3D Render PSD Design – a layered Photoshop file built from a 3D render, ready for customization. Instead of starting from scratch in modeling software, you open a PSD, adjust lighting, swap products on shelves, change floor reflections, and export a polished visual. For creators, marketers, and small business owners, this blend of 3D realism and 2D flexibility is a practical shortcut to professional-grade imagery.
What Makes This Design Distinct?
A warehouse 3D render PSD typically contains dozens of named layers: shelving units, pallets, forklifts, ceiling lights, shadows, and atmospheric fog. The key advantage is that you can edit each element independently. Need a different brand of boxes on the shelves? Hide the current layer and paste in your own product packaging. Want a warmer, dusk-like mood? Adjust a single gradient map or color balance layer. This approach saves hours of re-rendering and gives you control over composition without needing advanced 3D skills.
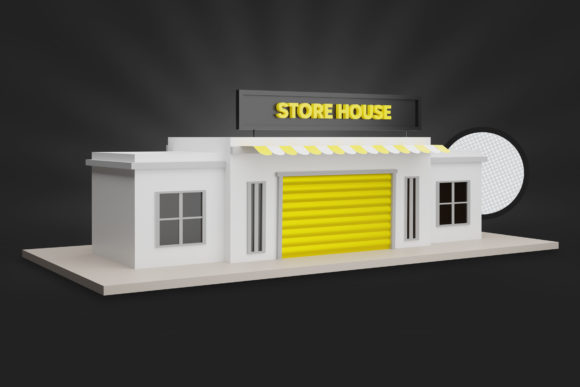
The design often includes multiple camera angles – wide establishing shots, aisle-level perspectives, and close-ups of loading docks. Each angle is a separate 3D render, but all are contained within the same PSD file, making it easy to maintain a consistent look across your visuals. This consistency matters when you’re building a series of images for an e-commerce catalog, a real estate pitch, or a logistics presentation.
For Graphic Designers and Visual Artists
If you work with clients in retail, logistics, or industrial design, this PSD becomes a reusable stage. Start with the warehouse backdrop, then layer in custom graphics, signage, or even augmented reality markers. You can experiment with color grading – turning a sterile gray warehouse into a vibrant brand showroom by overlaying brand colors on selected surfaces. Because the base is a 3D render, the lighting reacts realistically when you darken or brighten the scene, preserving depth and shadow quality.
- Mock up product displays: Place your client’s newest furniture or equipment directly onto the warehouse floor using perspective transform tools.
- Create atmospheric posters: Add dust particles, lens flares, or grain overlays for a cinematic industrial mood.
- Design social media templates: Keep the warehouse background and swap out headlines or call-to-action buttons on separate text layers.
For Marketers and Content Creators
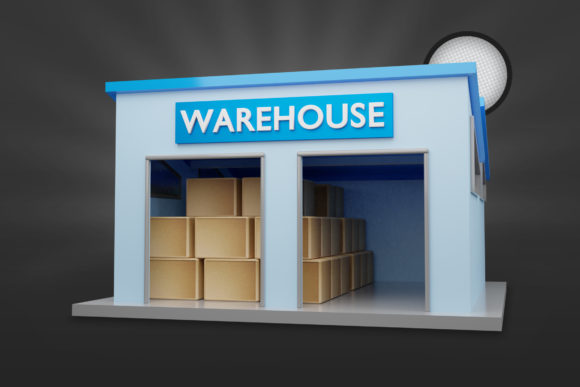
A warehouse scene communicates scale, organization, and efficiency. Use it to build trust with audiences who want to see behind the scenes of a business. The PSD lets you insert real inventory images, add data overlays (like capacity stats or shipping timelines), and even create before-and-after comparisons of a fulfillment process. You can export high-resolution stills for print brochures or lower-res versions for Instagram carousels, all from the same file.
For bloggers writing about supply chain innovation or warehouse optimization, a customized render can visually reinforce key points. Place a glowing “AI Sorting” label next to a conveyor belt, or highlight a specific safety zone with a transparent red overlay. These small edits make complex topics more approachable.
For Entrepreneurs and Small Business Owners
If you run a product-based business, a warehouse backdrop adds professional context to product photography. Instead of a plain white background, your items appear on sturdy shelving or next to shipping crates, suggesting reliability and bulk availability. The PSD design lets you control the environment – remove clutter, adjust the lighting to match your brand’s color temperature, or add a subtle vignette that draws the eye to your product.
- E-commerce hero images: Place your product on a wooden pallet with natural shadows for a grounded, tangible feel.
- Landing page headers: Use the wide-angle warehouse shot with your tagline overlaid in bold sans-serif type.
- Video thumbnails: Export a still from the PSD and add a play button icon for a consistent series look.
Practical Tips for Customizing Your Warehouse Render
To keep results clear and effective, start by organizing the layer panel. Rename the default layers into logical groups: Background Architecture, Lighting Sources, Products, Effects. This structure helps if you revisit the file weeks later or share it with a collaborator. Use adjustment layers with clipping masks so your edits only affect specific areas – for example, darkening the ceiling while leaving the floor bright.
Pay attention to the render’s original perspective. Warehouse 3D renders often use strong vanishing points. When you insert flat 2D images (like a poster or a label), use Photoshop’s perspective warp tool to match the vanishing lines. Otherwise, the final image looks disconnected. Similarly, match the color temperature of inserted elements to the render’s lighting. If the warehouse uses cool white LEDs, warm-toned product photos will clash.
For original compositions, consider layering multiple warehouse renders from different angles and blending them with masks. This can create a stylized diorama effect that feels both spacious and focused. Keep the lighting direction consistent across all layers – shadows should fall in the same direction, whether from overhead fluorescents or a single side window.
Product Launch Backdrop
Imagine a new line of eco-friendly packaging. Open your Warehouse 3D Render PSD, clear the center aisle, and place your boxes on a low pallet. Add a spotlight layer with a soft circular gradient to simulate a gallery beam. Overlay a subtle texture of recycled paper on the floor to tie in the sustainability theme. The result is an image that feels both industrial and refined – perfect for a press release or crowdfunding campaign.
Virtual Tour Still for Real Estate
Industrial real estate listings benefit from realistic visuals. Use the PSD to stage the warehouse with virtual furniture (conference tables, breakroom chairs, safety equipment) that suggests how the space could be used. Adjust the lighting to show the building during daytime for maximum natural light. Add measurement callouts on a separate layer to highlight square footage or ceiling height. These images help potential tenants visualize themselves in the space.
Social Media Education Series
Break down a complex process like “order fulfillment from dock to doorstep” using multiple frames from the same warehouse PSD. By moving the camera angle (or cropping different sections), you create a sequence that shows receiving, sorting, packing, and shipping. Add numbered steps and arrows directly in Photoshop. A consistent background reduces visual noise and lets the educational content shine.
Keeping Your Results Audience-Friendly
Always consider who will view your final image. For a B2B logistics client, prioritize clarity and accuracy – label aisles, include regulatory markings, and avoid heavy filters. For a lifestyle brand targeting younger adults, experiment with duotone effects, overexposed highlights, and generous negative space. The PSD’s layered structure lets you create multiple versions quickly without redoing the entire composition.
Check contrast ratios if your warehouse backdrop includes both very bright (windows, high ceilings) and very dark (shadows under shelving) areas. Use a luminance adjustment layer to bring out details in shadow regions so they don’t appear as solid black on smaller phone screens. Similarly, avoid placing critical text over busy shelving; either blur the background or set the text within a semi-transparent container.
Finally, keep a copy of the original PSD untouched. Once you start making major edits like merging layers or flattening, you lose the flexibility to adjust individual elements later. Work on duplicates and save versions as you go. This habit pays off when a client asks for a subtle change months after the original project.
The Warehouse 3D Render PSD Design is more than a static image – it’s a versatile toolkit. Whether you’re designing a campaign, staging a property, or building educational content, the combination of 3D rendering and layered editing lets you produce high-quality visuals with less repetitive work. Experiment with the lighting, insert your own assets, and keep the audience’s perspective in mind. That’s how a warehouse scene becomes a creative asset, not just a background.